Custom UI
MindAR comes with a set of default UI to help you bootstrap your application quickly. More specially, it comes with the followings:
Default UI
| Loading Screen | Error Screen | Scanning Screen |
|---|---|---|
 |  |  |
| This loading screen will shows when the engine is booting up. | If the engine failed to start (probably because camera failed to start), this error screen will be shown. | If the engine started successfully, this scanning screen will show. |
Customization
All of these are customizable, and there are two levels of customization.
Follow the same logical flow, but customize the UI of the overlay
Customize the logical flow and UI entirely
Customize the UI
First, let's see how to disable the default UI. Inside <a-scene>, you can specify the following params:
uiError:nouiLoading:nouiScanning:no
<a-scene mindar-image="imageTargetSrc: ./targets.mind; uiError:no; uiLoading:no; uiScanning:no"/>
If you do this, then none of the above will be shown.
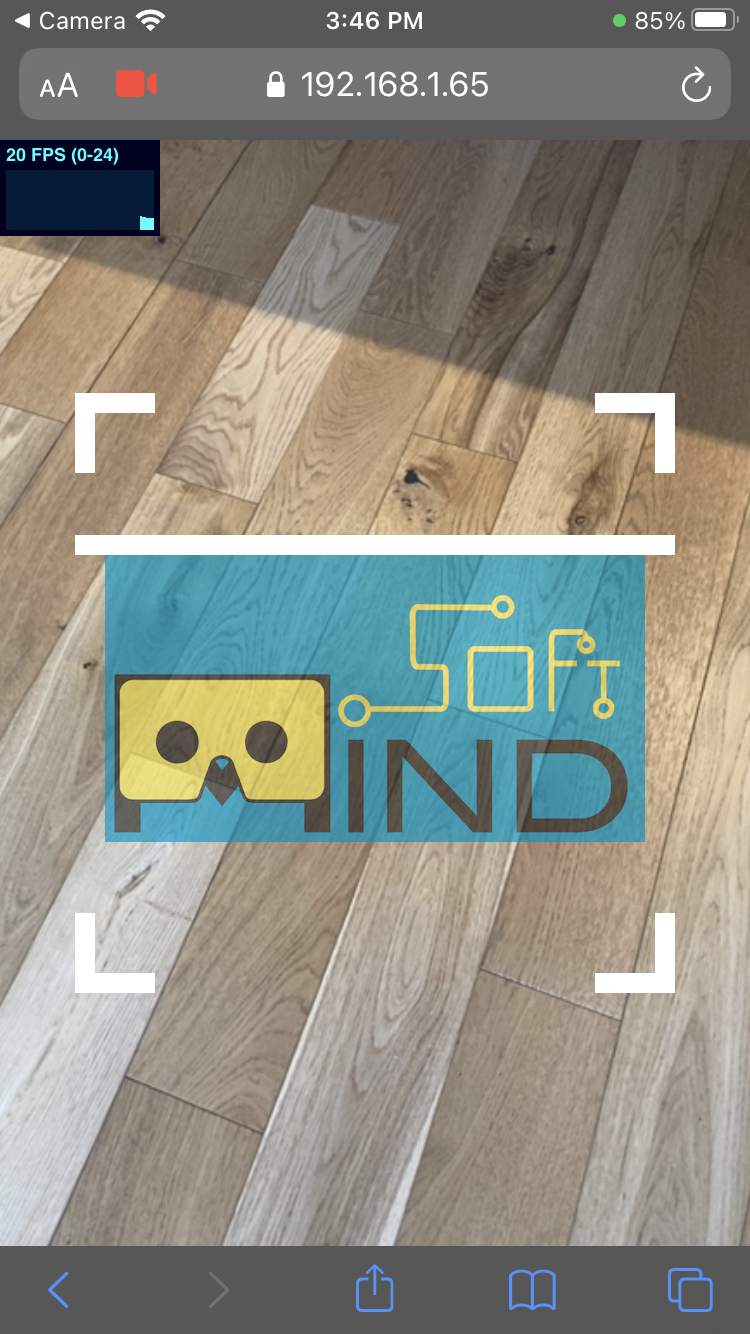
Now, instead of setting them to no, you can also put down the id of the DOM element, e.g. uiScanning=#example-scanning-overlay; This element will be your new scanning screen, and you can make it look like however you want.
For example, I can modify the scanning screen to include a semi-transparent target image at the center to guide user. Live Demo
Source - Incomplete
<head>
  <style>
      #example-scanning-overlay {
      }
      #example-scanning-overlay.hidden {
        display: none;
      }
      ...
  </style>
</head>
<body>
  <div id="example-scanning-overlay" class="hidden">
    ...
  </div>
  <a-scene mindar-image="uiScanning: #example-scanning-overlay; imageTargetSrc: ./targets.mind">
    ...
  </a-scene>
</body>
Let's take a look at the most important elements in the above example. First of all, you need to have an element with id=#example-scanning-overlay. The AR engine is going to add/remove a class name hidden according to the default logic (i.e. when the scanning screen should show/hide)
Normally, you want to hide it display: none when in hidden state. The rest are just standard HTML and css, so we will omit here. You can look at the source of the example to see how I implemented it if you are interested.
You can do the exact same thing with Loading and Error screen.
Customize the logical flow
If you want more freedom, you can disable our default ui completely and write your own. You might want to do this because, for example, you want the loading screen to show longer because you want to wait for other things other than MindAR.
To do that, you will have to interact with events API. This will be discussed in the next example.